
You will need about 0.5m of each of the following:
Wadding
Lining fabric
Outer fabric (Stocking back)
Scraps of fabric or chosen fabric (Stocking front)
Ribbons or trims, buttons or other embellishments
All seam allowances 1cm (1/2" approx) unless otherwise stated.

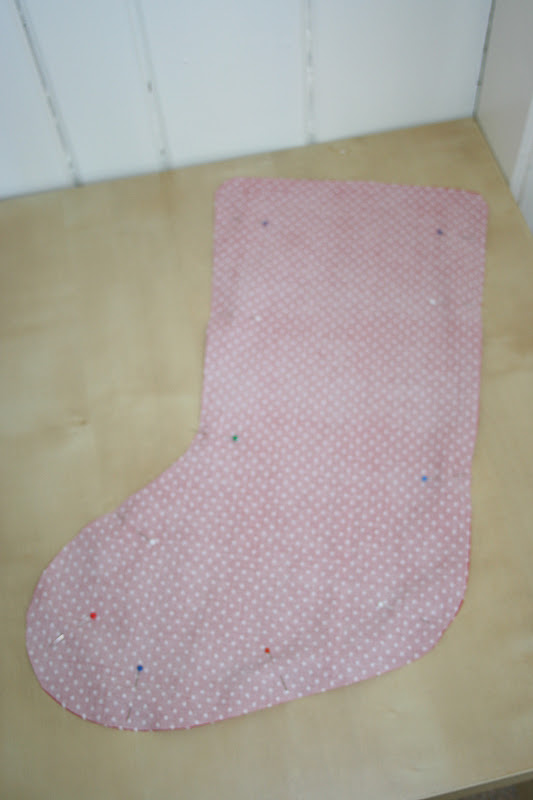
Using your paper pattern or template, you will need to cut out 5 stocking shapes in all. Before cutting out your outer fabric (stocking back) spare a thought for the way you wish the stocking to face, ie toe pointing to the right or left and cut accordingly.

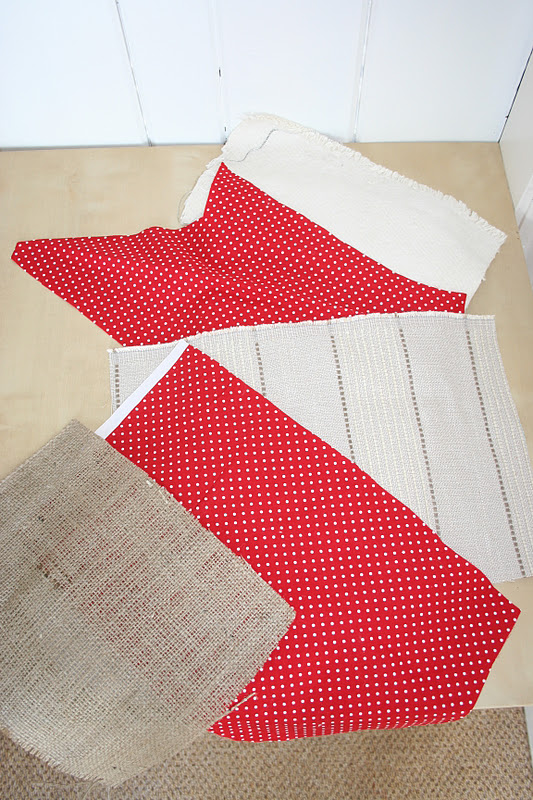
So this is what you end up with.....
Lining x 2
Wadding x 2
Stocking back x 1
Loop x 1 (18 cm x 5cm)
Stocking front you are going to make up from scrap pieces of fabric or your chosen fabric, this is mine....

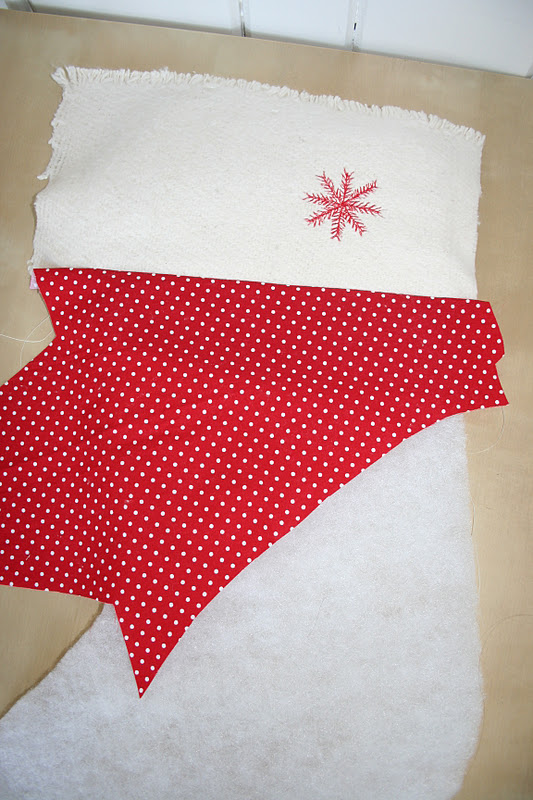
Pick up one of the wadding shapes and lay it flat on the table. Select fabric piece from your pile of scraps or if not using scraps, cut a piece from your chosen fabric. Place randomly on top of the wadding, bearing in mind the overall effect you wish to achieve and following the general shape of the stocking.
Then carefully start to tuck the pieces of fabric underneath the wadding stocking shape to get a better feel for what it will look like.

But don't trim your fabric to the exact shape, we do that later.
If it helps you can make a quick sketch of where you want the fabrics to sit.

You can be as adventurous as you like when placing your fabric, joining smaller pieces together to create a width wide enough to cover your stocking However for the purposes of this tutorial, I've kept it simple as it's the stitch 'n' flip that I want to focus on not the patchwork.
Now we're ready to start stitching.
Starting from the top of the stocking, pin your first fabric piece into place. You may notice I've added a little embroidered snowflake to this piece, you may choose to personalise your stocking or embellish it with buttons, or crochet work at this point.


Now place the second piece of fabric right on top of the first, right sides together, matching edges across the width of the stocking.

Pin into place.

Sew into place. Sew through all layers - so that's your 2 pieces of fabric and your wadding.

Now flip open the fabrics and press (remember ladies your iron is your best friend).

Trim off some of the excess fabric but still leave a big overlap of fabric over the sides of your stocking base.

You've just done your first stitch and flip! Take time to charge around the room doing cartwheels and whooping and hollering.
If you like, you can top stitch the seam you have just sewn, or sew a piece of ribbon along the seam (sewing though all layers remember) or just leave it as I have done.
Take the third fabric piece and repeat.
Pin together matching edges......

Stitch.......

.......and flip.

Then press....

....and trim off excess fabric.

You're getting the idea now aren't you? Repeat until you have stitched and flipped all of your stocking, it should look something like this....

and from behind.....

Now trim away the excess fabric around the edge, following the shape of your stocking. Some like to do this stage after you have sewn front and back together - it's up to you.

All done.

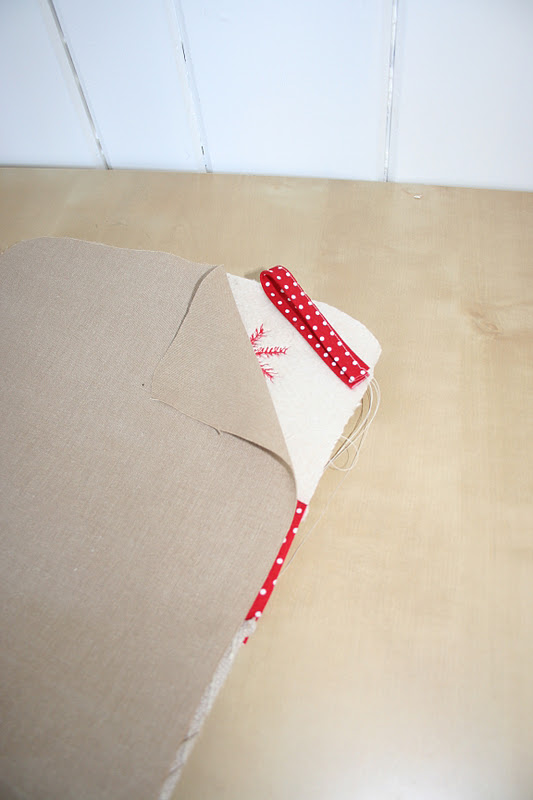
Now you're going to make the hanging loop for your stocking. Take your loop fabric piece and press each long edge into the centre.

Then fold in half and press again.

Stitch down long edge.

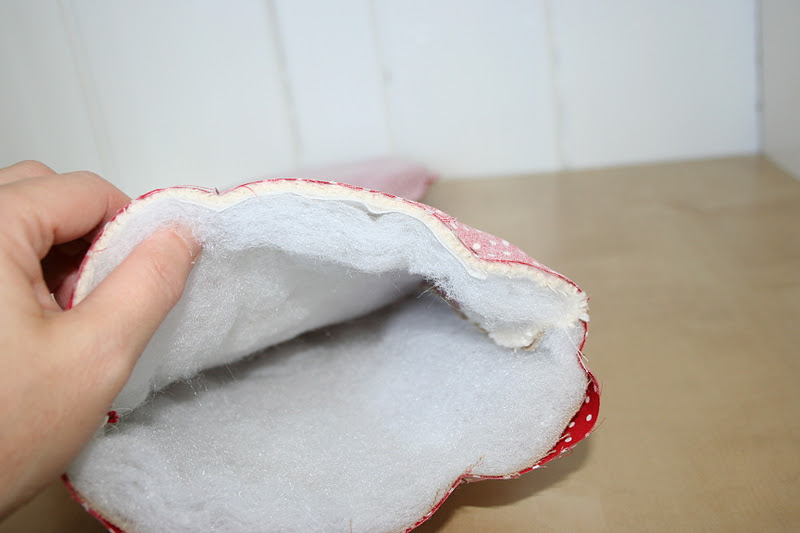
Now make a sandwich, yes a real one if you like, you may be in need of some sustenance by now but I'm talking about your stocking.
So get the piece of wadding that is left, lay the stocking back (outer fabric) on top (right side facing up) then place the stitch and flip stocking piece on top of that so both right sides of the stocking are facing and the wadding is on the top and the bottom.
It should look something like this.

Pin in place and stitch all around the edge.


You can if you like clip around the curves before turning right side out but I don't bother.
So this is the exciting bit you are about to see your stocking for the first time. Turn right side out, pushing out the seams and press.
Aren't you clever!!!!
Now for the lining.
Place both lining pieces right sides together and pin.
Sew around the edge but make sure you leave a gap of about 10cm (4") down the straight back edge of the stocking. This is so you can turn your stocking the right way out. If this doesn't make any sense now, just do it anyway you'll soon start to see how it works.


Now place your completed stocking inside the lining that you have just made. Smooth it all out to the sides and edges and align the seams around the top edge then match edges and pin all the way around.


Now stitch.


This is my favourite bit. Put your hand inside the gap you left in the lining and pull the stitch 'n' flip stocking through it, like this

It should end up like this. Press it.

Check all edges have been caught in around the top before you finish off the next bit.
Press the edges in on the gap that you left. Pin it and stitch the gap closed by sewing close to the edge.


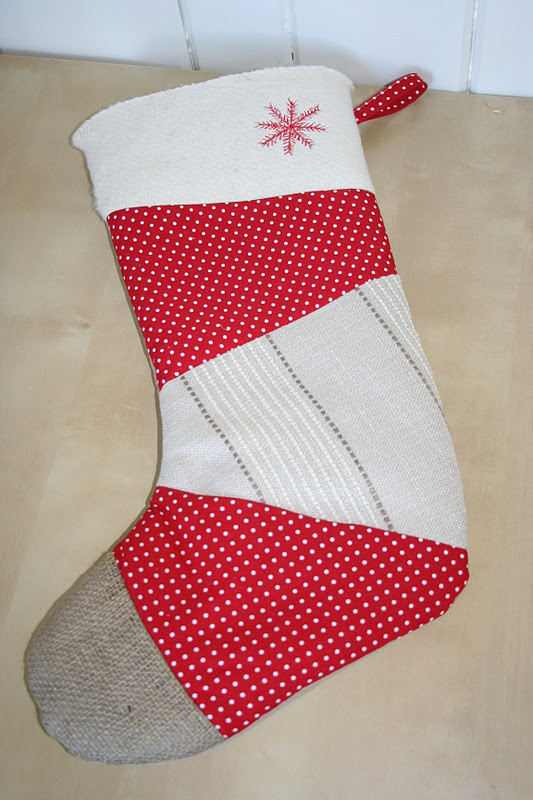
Now push the lining back inside the stocking ensuring that it fits right into the toe. You should have a nice little trim of lining fabric showing around the top of your stocking. Press.

Now hang up your stocking stand back to admire your genius and soak up the wild applause from appreciative members of you family.

Well done - you did it!!!!
This is so easily adaptable, use up scraps (I just used the fabric I already had) add embellishments or go all out and plan a superb co-ordinated colour scheme, it's up to you.
I hope I haven't confused anyone, I appreciate it is quite a lengthy one, email me if you have any queries.
I'm going to add this to my new tutorials page for ease of reference.
Happy Sewing!

Great tutorial - you make it look so easy tho :)
ReplyDeleteHello Caroline:
ReplyDeleteWhat fun this all looks and surely your tutorial is in itself a work of art in simplicity and clarity. We love your stocking and can just imagine the excitement of someone on Christmas Day lucky enough to find it brimming with goodies.
Thank you so much for the kind comment you left on our previous post to which we have made a general reply.
Hi Caroline, great tutorial, definitely going to have a go. Looks great. Thank you for sharing. Lesley x
ReplyDeleteHow clever! It looks so lovely too.
ReplyDeleteGreat tutorial Caroline.
Wish I'd had this before I made my son's stocking - I had a few attempts at the way to get the lining in the right way.
ReplyDeleteHello Caroline,
ReplyDeleteYou are so good at tutorials and very generous with your time, it must have taken ages to do. Stitch and flip is amazingly clever and looks fantastic.
I loved your boat design on the gadget cosies in your last post too.x
It's lovely! A really great idea, and a very clear tutorial.
ReplyDeletePomona x
Your cleverness with stitchery knows no bounds Caroline - I will buy one instead! Vx
ReplyDeleteGreat tutorial! I featured it in a recent blog post...http://radcrafter.com/2011/11/10-diy-christmas-stocking-tutorials/
ReplyDeleteAlida
Hi Caroline,
ReplyDeleteI love this tutorial, thank you for posting it! I have never made anything before on a sewing machine and I'm going to start with this, so this will seem like a really dumb question! Here goes, with the 1cm seam allowances, do you add that to all the stocking shapes that you cut out including the wadding?
Here are high quality stocking store for women at www.00701.com.
ReplyDelete